
Mindful Eating
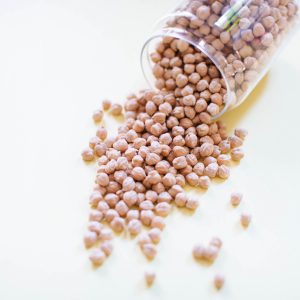
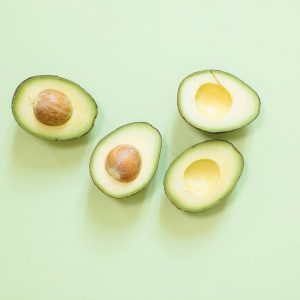
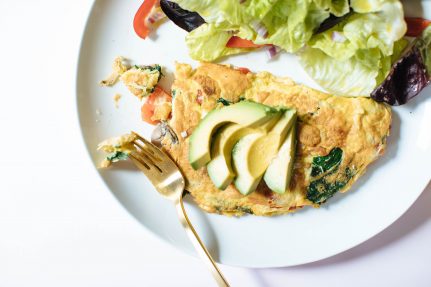
8 Factors That Can Alter Your Food Portions
See what to be mindful of as you're choosing your food portions for your meals so you can feel confident that you're nourishing your unique body well.
Learn the 4 elements needed to feel confident, calm, and in control with food, without overthinking.


Then take this free 45-second quiz where you’ll get guidance on what your type needs to maintain a healthy relationship with food, plus learn how to start feeling more at peace with food today!
Join our online courses to discover how to create balanced eating habits that last. Visit our curated shop with products you'll love.
Shop All
Learn how to eat mindfully, create balanced eating habits, and cultivate a positive mindset with food.
Read More
See what to be mindful of as you're choosing your food portions for your meals so you can feel confident that you're nourishing your unique body well.
Looking to change your relationship with food for the better? Here are the 5 steps you need to do so.
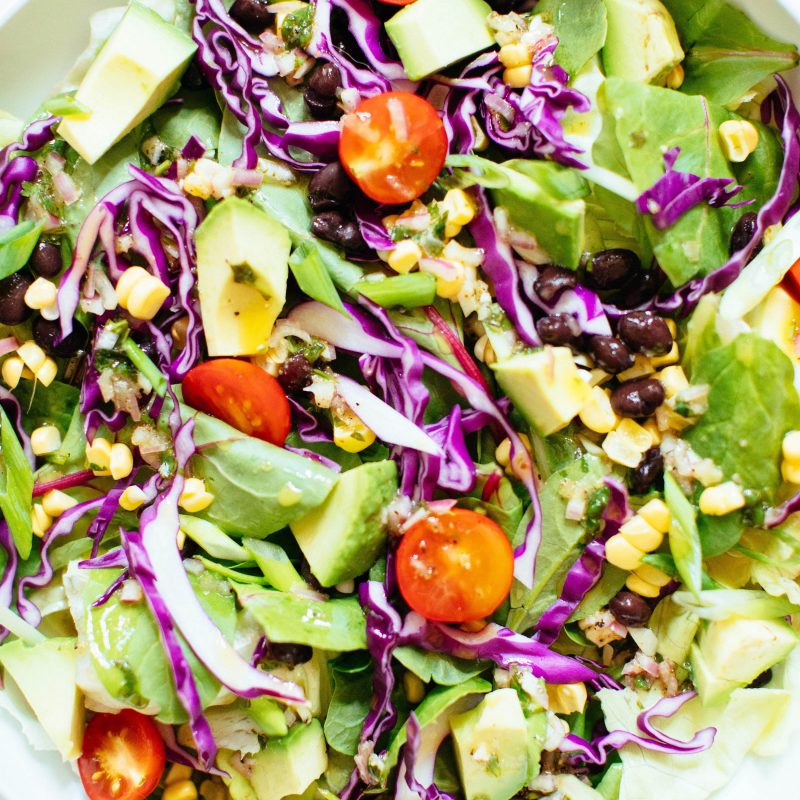
Balanced eating can seem like such an abstract concept — what does balance really mean and look like when it comes to food?
See how others have balanced their relationship with food using our programs.
Read MoreNourish yourself fully — food is nourishment & enjoyment!
Read More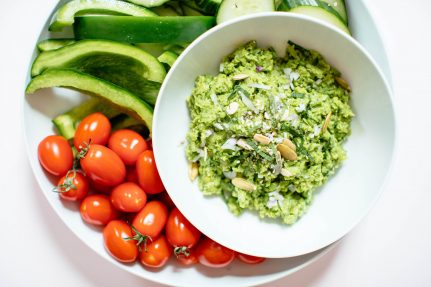
Whether you're grabbing a quick snack or hosting a fun weekend get-together, this Minty Spring Pea Dip is a nourishing option anyone will enjoy.

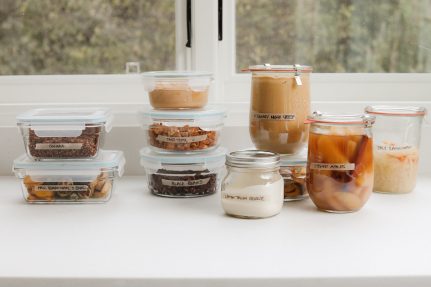
Try this tahini miso paste that you can use to make any roasted vegetable taste even more delicious.

Whether you're short on time or looking for a way to pack in more nutrients into your day, having healthy smoothie recipes you can whip up in 5 minutes is the perfect solution.
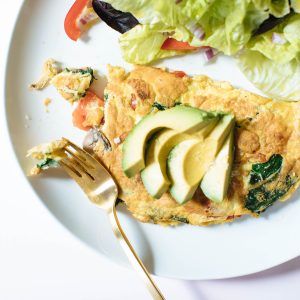
Make Each Meal A Balanced Meal. Learn about these foods and the Foundational Five elements of nutrition that nourish your body.
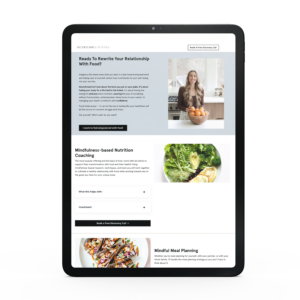
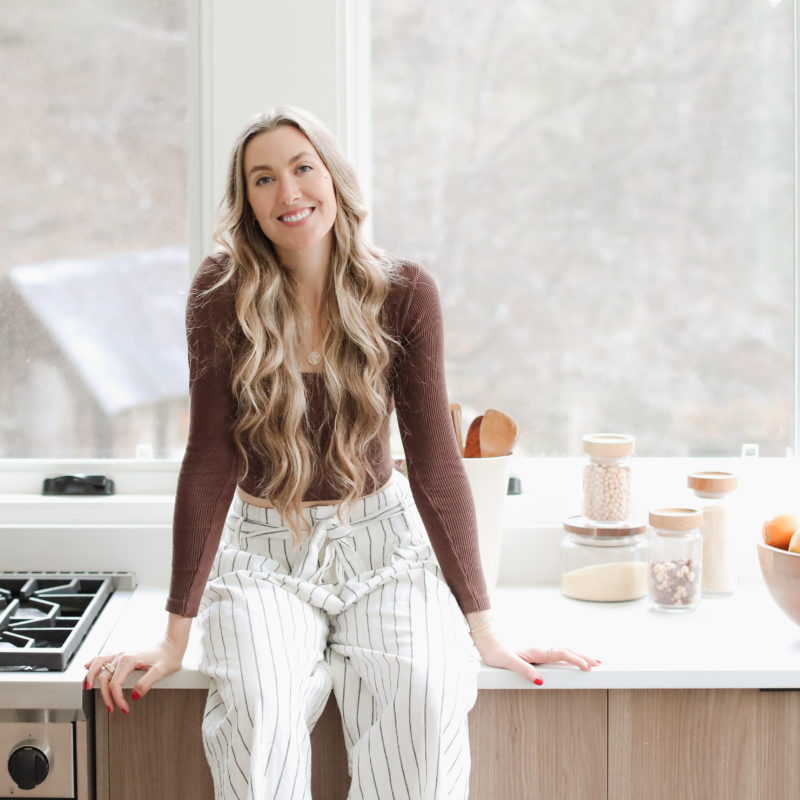
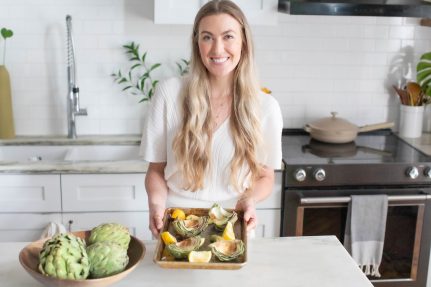
Learn MoreMcKel is a mindfulness-based Dietitian, mentor, and author, named "Top 20 Role Models" by Arianna Huffington. In her work, she teaches you how to create balanced eating habits easily using her Mindful Nutrition Method to cultivate a positive relationship with food and joyfully nourish yourself. Featured in Oprah.com, Women's Health, Today's Dietitian, Healthline, and more.
Add nourishing insights and inspiration to your inbox, for free. Each week get 4 practical tools and practices to rebalance!