

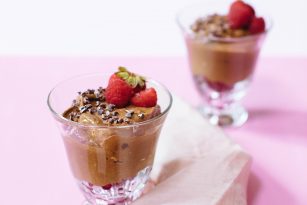
Feel amazing with this go-to fudge recipe! It takes 10 minutes and made with 10 ingredients to make a large batch to save half in the fridge and the rest in the freezer for a snack later in the week. It’s a sweet treat that’s low sugar and rich in healthy fats to keep your energy up and feeling good.
#feelamazingfudge
For me, there’s something about having a small bite or piece of chocolate (or anything sweet for that matter) at the end of dinner to “cap” off the day. It’s a sweet treat, it keeps me on track, and it just plain tastes delicious. This little nighttime routine and recipe have been with me since college and today I want to share with you a way to satisfy a sweet tooth in a healthy way – plus you can make these on your meal prep day!
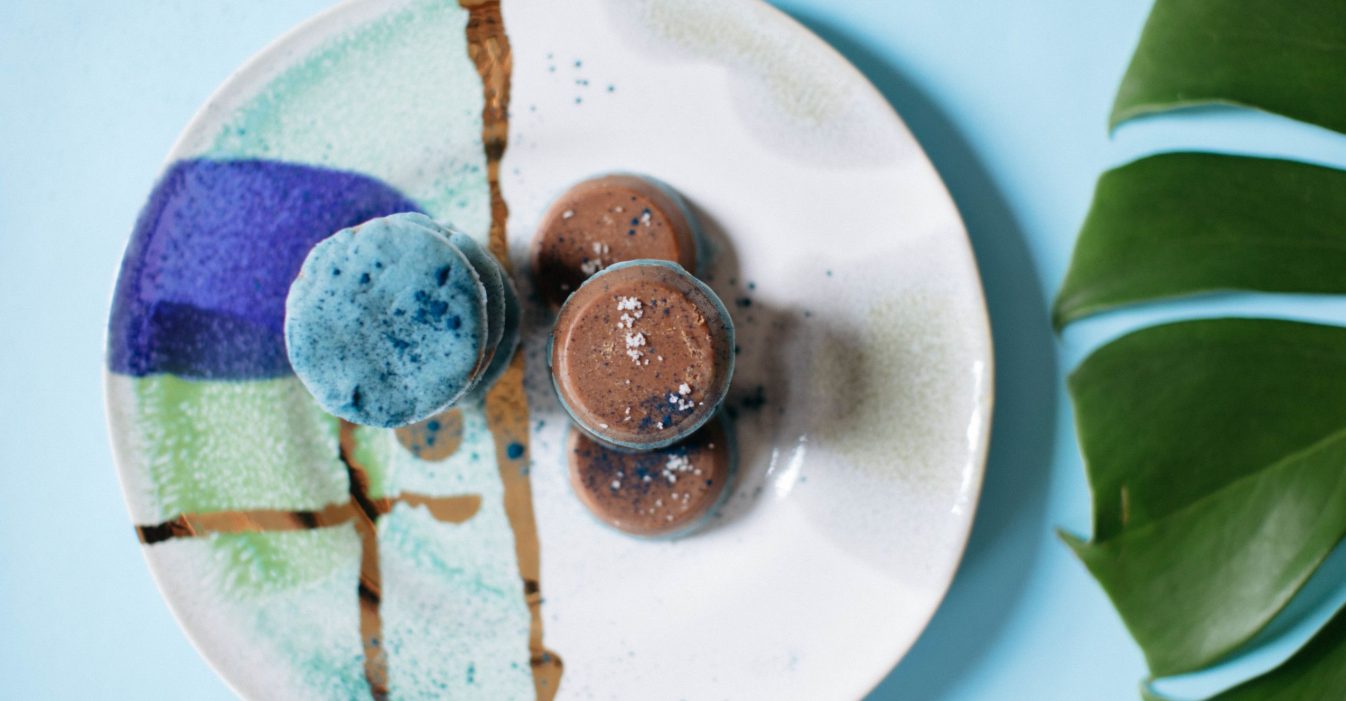
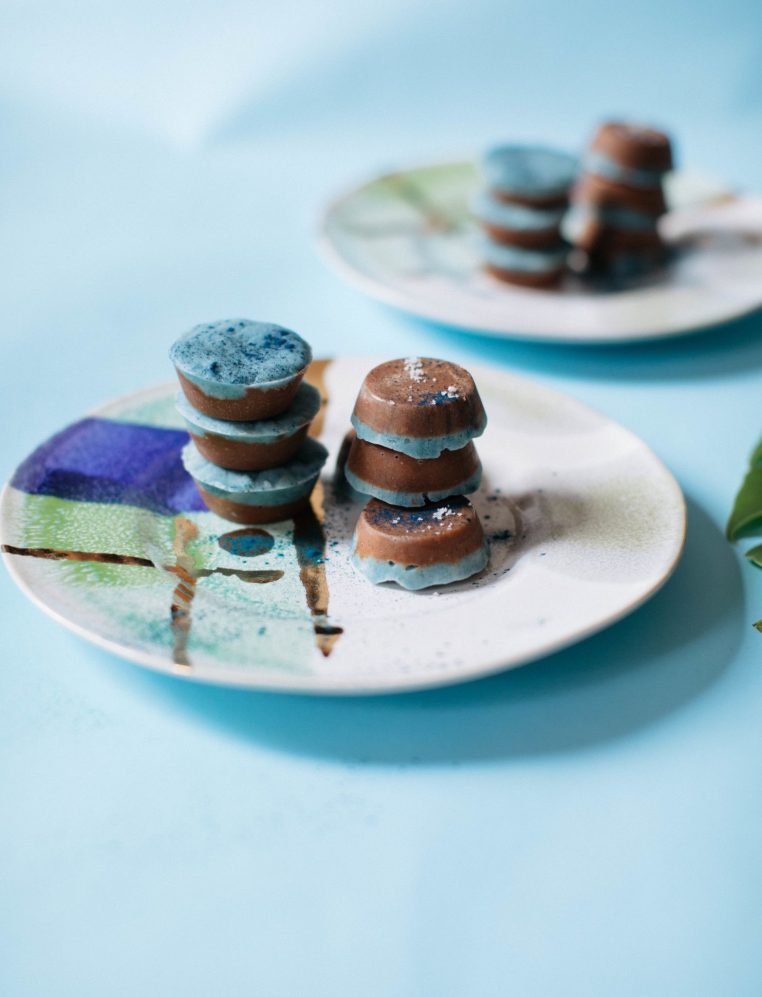
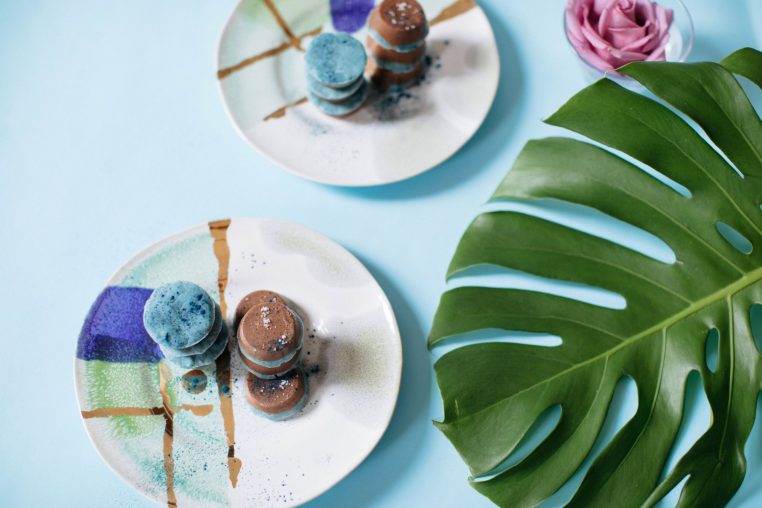
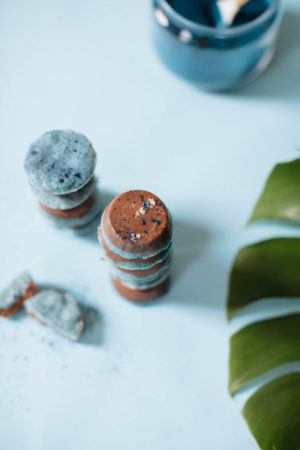
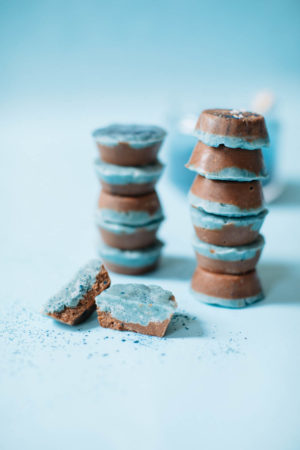
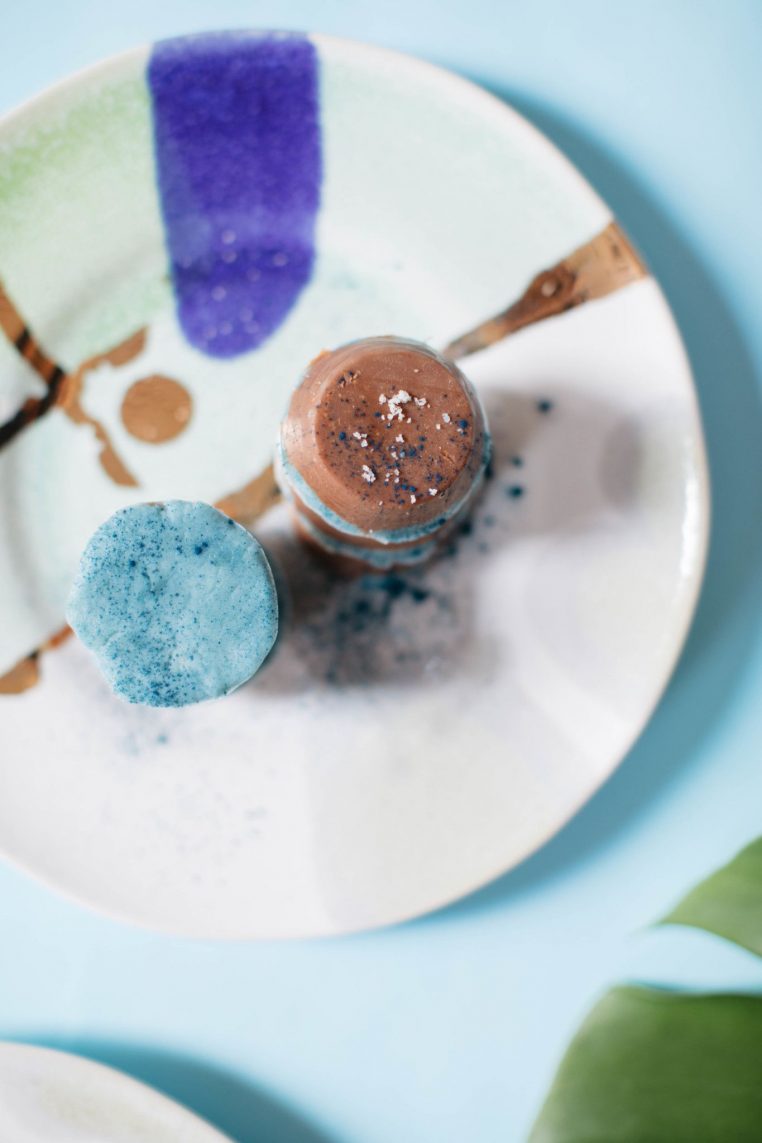
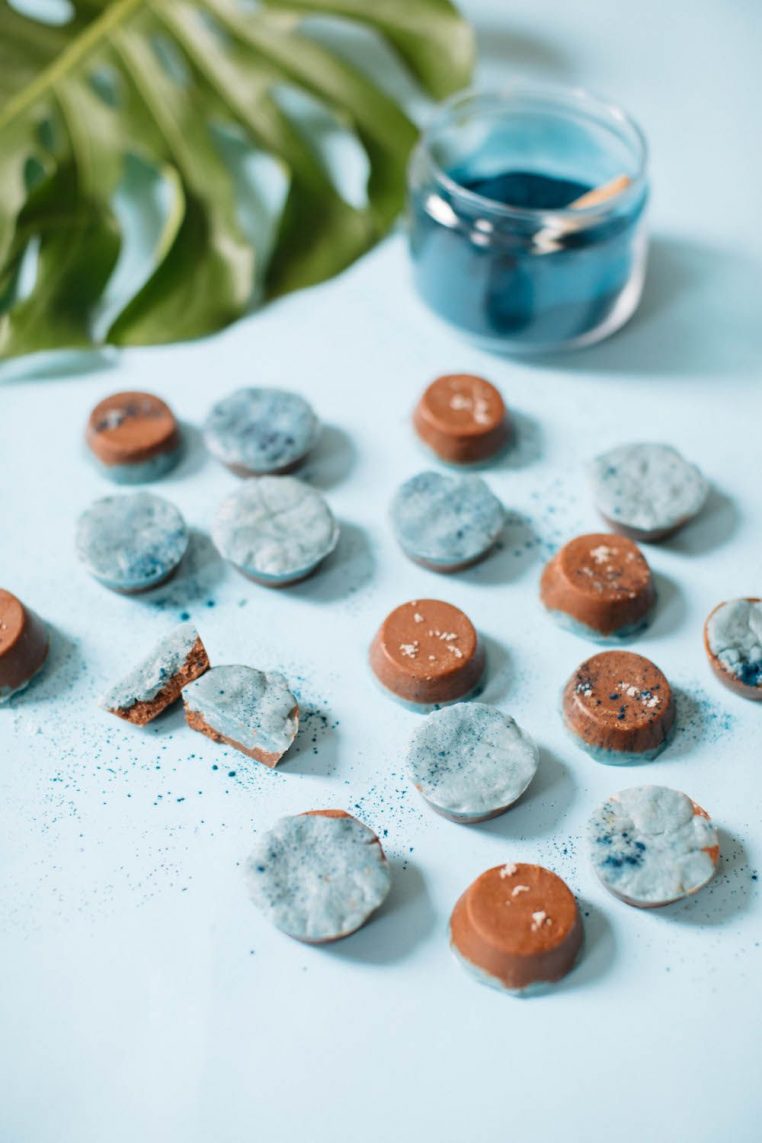
The core of this fudge recipe is coconut butter which solidifies when chilled, there isn’t a replacement for the coconut butter in this recipe, it’s a must-have! In addition to the coconut oil, I use cashew butter for its sweet flavor, creamy texture, and it’s rich in minerals (especially copper, phosphorus, manganese, and zinc) and protein. If you’re allergic or don’t enjoy cashews, you can use almond butter or any other nut/seed butter you enjoy. Since these are Mint Chocolate, there are two layers to make, one with cocoa powder and a dash of cold brew coffee to make it rich in flavor and the mint layer uses peppermint extract and a touch of spirulina for that beautiful blue-green color! Do you have to use spirulina here? No, but it’s beautiful and more importantly adds a little boost of minerals, amino acids, and nutrients. I’ve made this recipe both ways and it’s delicious across the board.
Simple to make
Uses 10 ingredients you probably have stocked in your pantry
Rich in healthy fats to keep you satisfied
Delicious (and beautiful to eat)
(nutrition) stripped and how this fudge can help you feel amazing:
- Healthy fats, mostly from medium chain triglycerides (MCT): I talk about the importance of fat in our diets, which seems like on a weekly basis, but it’s important! Healthy fat also keeps us satisfied, it’s tasty, and the coconut butter in this recipe specifically holds the recipe together. Read more on the health benefits of coconut here.
- Copper: if you use cashew butter, which is the recommend nut butter in this recipe, then you’re getting a good amount of copper or you can use peanut butter which also contains copper! Why is copper important? Copper like many minerals are important in enzyme production, but also plays a role in how our body uses iron, as an antioxidant to get rid of free radicals, helps develop bone and connective tissue, supports brain function, helps produce energy (ATP ) in the cells, keeps our nervous system healthy, thyroid in balance, plays a role in healthy hair and nails, and melanin production. Copper is important and most of us are getting enough, so deficiencies fall in the “rare” category, but it’s important to eat a variety of copper rich foods like nuts/seeds, greens, beans, and some grains.
- Optimizer Option: if you want a little protein boost, I recommend adding in a neutral tasting protein powder to match the flavor of these (i.e. chocolate or vanilla or no flavor), see the lists below the recipe for ones I recommend. If you do add protein to this recipe, try 1/4 cup per layer and add 1/4 cup water to make sure it’s mixed in well with a smooth texture. Depending on the brand, you may need to add a tablespoon or two of coconut oil to keep the texture smooth.
I’ve been making a variation of this fudge since college and it was about time to spruce it up and share the full recipe with you guys! I normally enjoy this after dinner, but as I’m writing this, it’s a Monday around 11 am and I’m snacking on it for a little morning pick me up while writing. It’s rich in healthy fats, so I recommend enjoying it as a snack to fill the gap between meal times or to enjoy post-meal to satisfy any sweet tooth or craving you may have. Despite it being low in sugar, coconut and cashews naturally taste sweet. Jesse isn’t a big fan of sweets, it’s hard to believe but true, but even he’ll gobble these up and take them to work for a snack. A tip on this, always keeps these cold. Since coconut butter melts at room temperature, so will this fudge!
If you try this recipe, I wanna hear about it, so let’s chat! Leave a comment it, rate it (this helps me improve future recipes), and don’t forget to tag a picture #nutritionstripped to show how you live and try these recipes on Instagram! I’d love to see what you come up with. Now off to make a batch of these for some treats this week at home (and the office)…
- [b][b]For the chocolate layer (bottom layer):[/b]
- 1/2 cup creamy cashew butter
- 3 tablespoons cocoa powder
- 1/2 cup melted coconut butter
- 1 tablespoon maple syrup
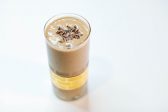
- 1 tablespoon cold brew coffee
- Pinch of sea salt
- [b]For the mint layer:[/b]
- 1 cup melted coconut butter
- 1/4 cup unsweetened shredded coconut
- 1 tablespoon maple syrup
- 1/2 teaspoon spirulina powder (for blue-green color, optional)
- 1/2 teaspoon peppermint extract
- Pinch of sea salt
- Use a silicon dish (about 8×4 or 9×5 inch) or pan lined with parchment paper to take out the fudge easily.
- With 2 mixing bowls, make each layer in separate bowls.
- For the Mint layer: using a spoon, combine all ingredients for the mint layer until smooth. Set aside.
- For the Chocolate layer: using a spoon, combine all ingredients for the chocolate layer until smooth. Pour this chocolate layer into the lined pan or silicon dish. Smooth out any bubbles with the back of a spoon.
- Next, gently pour the mint layer on top of the chocolate layer. I recommend using a spatula to evenly spread the layer on top of the chocolate.
- Put the dish in the freezer for 10-15 minutes or until hard.
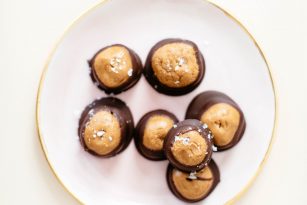
- Cut into about 18 squares or 24 bite size squares. Store in an airtight glass container for up to 1 month in the refrigerator.
- Garnish: I added a touch of sea salt and sprinkle of the spirulina for added flavor. This is optional.
I USED THE FOLLOWING: silicon mini-cupcake container, coconut butter, spirulina powder (optional for natural food coloring), peppermint extract, dessert plates, vanilla or chocolate plant-based protein powder or collagen for a neutrally flavored protein. Side note, we used to buy cold brew coffee at Whole Foods each week, my boyfriend has a huge thing for cold brew, but KitchenAid just sent us this awesome homemade cold brew machine and it’s SO simple to make and super affordable. Thought I’d pass it along to you if there are any other cold brew coffee lovers out there!
