

 Earlier this week I shared all about the perks of soaking and sprouting nuts, seeds, grains, or legumes and I promise I’d share a recipe to put this process in motion. My favorite sprouted recipe may just be this one I’m sharing today, Sweet Sprouted Millet Granola. I use millet, which also happens to be one of my favorite grains to sprout, alongside spicy cinnamon, cardamom, walnuts, and more sweet additions later to be named.
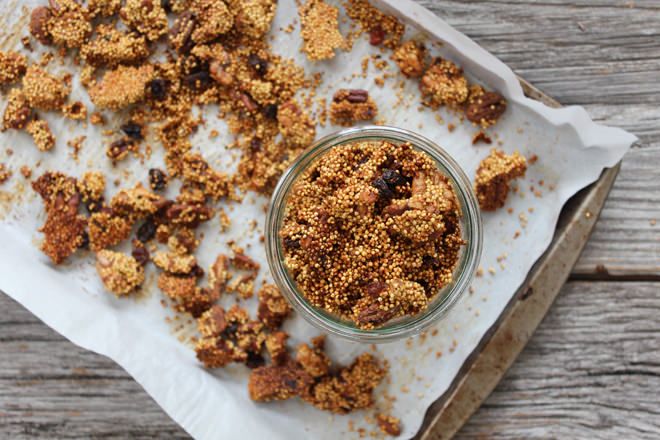
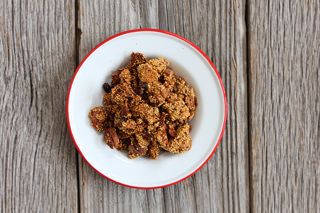
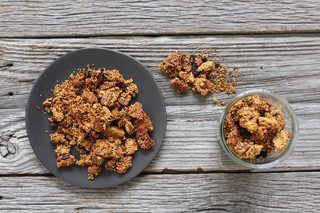
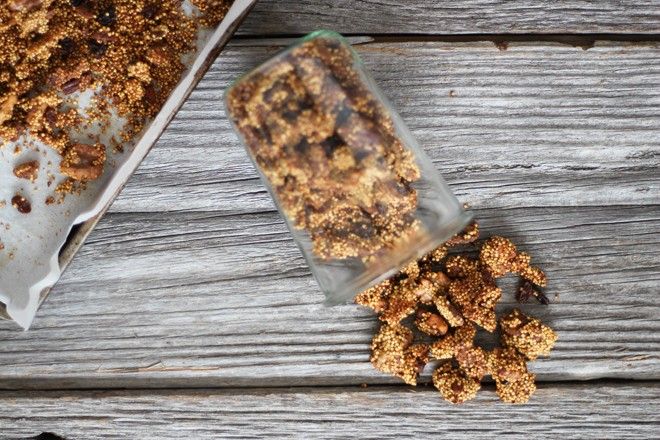
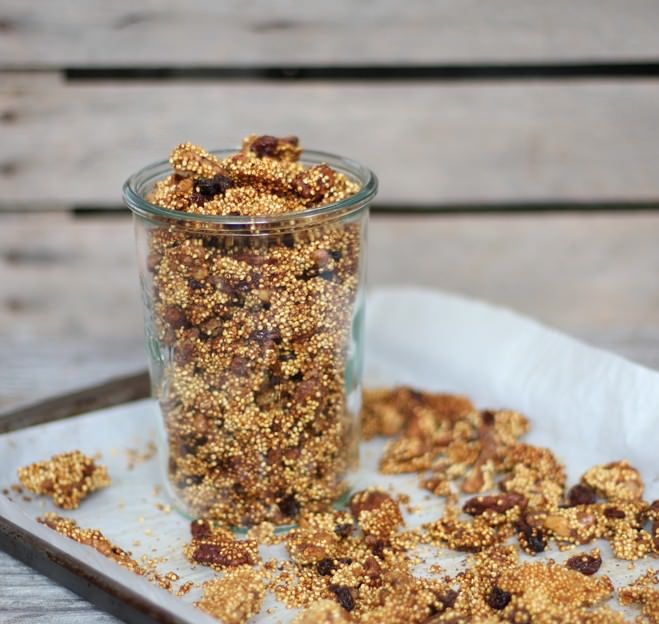
This granola is a new favorite, I swear everytime I develop a new granola or muesli recipe I get in “food phases” and enjoy them almost daily! This granola totally has me in a food phase and if you’ve been on my instagram lately- you’d see it’s popped up every now and then. How can I not be tempted to munch on this granola daily when it’s crunchy, filling, nutty, sweet, and loaded with nutrition from the sprouted millet and ingredients used with it. Sweet Sprouted Millet Granola is incredibly delicious on it’s own as a snack, but I truly love this most with homemade almond milk, coconut milk, topped on coconut ice cream, and of course on my Stripped Green Smoothie Bowls!
I love using millet in cooking and mostly I enjoy it in savory dishes, but one morning last week (amongst the craziness of moving- which by the way I can’t wait to show you all pictures of our new kitchen… eeeeek!) I had millet that was cooked and left over in the fridge and was jonesing for porridge. I heated the millet with almond milk, topped it with golden raisins and nuts, and created an amazing breakfast porridge- which gave me the inspiration to make a sweet breakfast idea from millet.
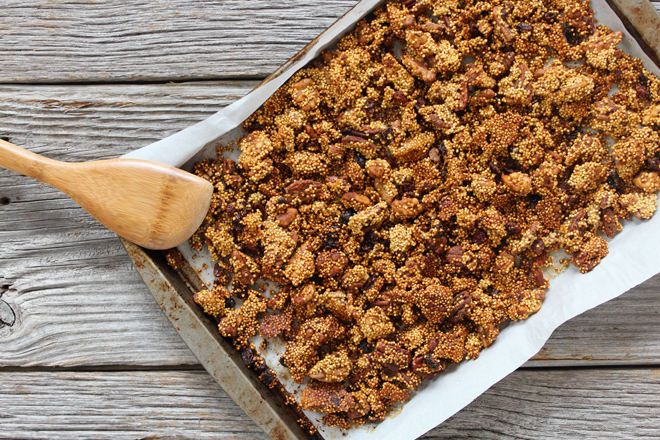
Sweet Sprouted Millet Granola can be cooked two different ways, one being baked and the other dehydrated. The cooking methods will slightly change the end result and differ in the times it takes to make (40 minutes vs. 8-12 hours respectively). Baking this granola will result in a more crunchy granola and you also can leave it in “clusters”. On the other hand dehydrating this granola will result in a light, fluffy, yet crunchy texture- both are absolutely delicious in my opinion, it comes down to how long you want to take to make [more on the different variations below].

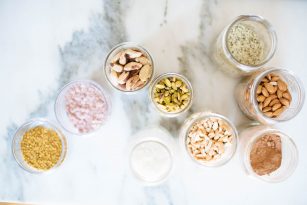
Variations. If you’re not a fan of walnuts or pecans, then you can replace them with another nut or seed you enjoy. I love the flavor and texture combination of the walnuts and pecans with golden raisins, banana, maple syrup, spices, and millet. Of course, if you’re allergic to any nut used you can try adding almonds, macadamia, pumpkin seeds, etc. If you happen to be allergic to bananas try using applesauce.
Enjoy 5 ways | *I love them all!
- Sprouted & Raw: you will follow the directions using your dehydrator. The end texture of this granola will be different than the baked kind- baking makes the granola a bit more crunchy.
- Sprouted & Baked: you will follow the directions using your oven (I have a feeling most of you out there will do this as many don’t own a dehydrator which is perfectly fine). The texture of this granola is crunchy and of course delicious!
- Soaked & Baked: If you didn’t plan ahead with the sprouting process you still can enjoy this granola if it’s simply baked using soaked millet- it may be crunchier and more dense because the grain hasn’t been “cooked” or sprouted.
- Clusters: When checking on the granola mid-way through the cooking process, keep the stirring to a minimum which will keep this mix into nice big chunks or clusters, or;
- Small bits: You can stir the mixture mid-way through baking and using your fork or spoon, mix up all the pieces to form small little bits or pieces versus chunks/clusters.
My personal favorite way is to keep these into big ole’ chunks and clusters- I love dousing them in homemade almond milk, topping it on Stripped Green Smoothie Bowls, or melting a little dark chocolate on it… I mean c’mon, who doesn’t like the sound of that?
- DRY //
- 2 cups of sprouted millet (that you’ve sprouted or soaked)
- 1/2 cup walnuts, chopped
- 1/2 cup pecans, chopped
- 1/4 cup golden raisins
- 3 teaspoons ground cinnamon
- pinch of ground nutmeg
- pinch of ground cardamom
- pinch of sea salt
- WET //
- 1 banana
- 3 tablespoons maple syrup
- 3 heaping tablespoons tahini
- 1 teaspoon vanilla extract
- Combine all wet ingredients in a bowl, mashing the banana into the bowl with the back of a fork and combining all ingredients until a thick paste forms. You may adjust the sweetness here by adding more maple syrup or banana.
- In a large mixing bowl, combine all the dry ingredients together (except golden raisins).
- Pour the wet ingredients into the large mixing bowl with dry ingredients and combine until the granola has formed.
- Spread the granola evenly on the baking or dehydrator sheet.
- OVEN //
- Preheat the oven at 300 degrees F.
- Bake for 20 minutes, stir, bake for another 20 minutes keeping a close eye on the texture and cooking status.
- DEHYDRATOR //
- Using a dehydrator spread the mixture evenly on silicon sheets or lined with parchment.
- Dehydrate at 115 degrees for 6-8 hours.
- Stir and pour onto vented sheets (with no silicon pads) and dehydrate for another 2-4 hours, checking periodically. The second dehydrating will greatly vary on your climate and humidity, cook for the length of time that gives you your desired texture.
- Once the granola is baked or dehydrated, allow it to cool completely and add golden raisins. The granola will have more crunch to it as it’s cooled.
- Store in airtight mason jars or ziploc bags for later!
- Enjoy
Note: follow the directions on how to sprout millet here, this will need to be completed before making this recipe as is. You could also use raw millet if you haven’t sprouted any millet ahead of time (the sprouting process takes 2-3 days so this will be done in advance and you’ll know it’s sprouted when little tails are coming from the seed!).
If this was your first time sprouting millet or any grain for that matter, what was your experience like? Share below!
xx McKel
p.s. Stay tuned for Friday, I’m sharing something special!
