
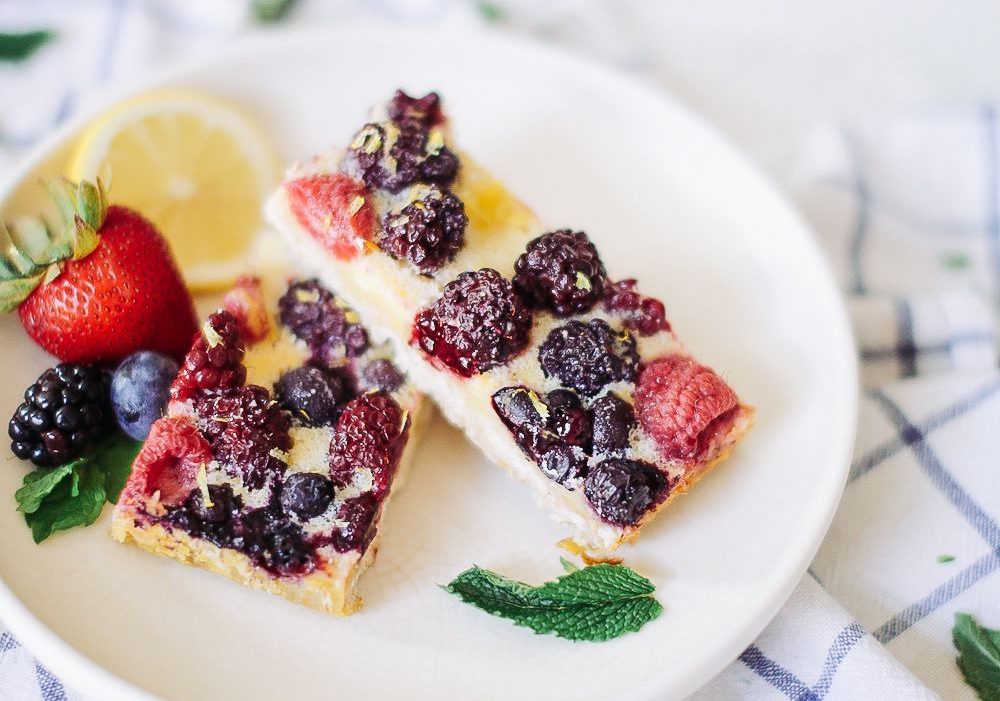

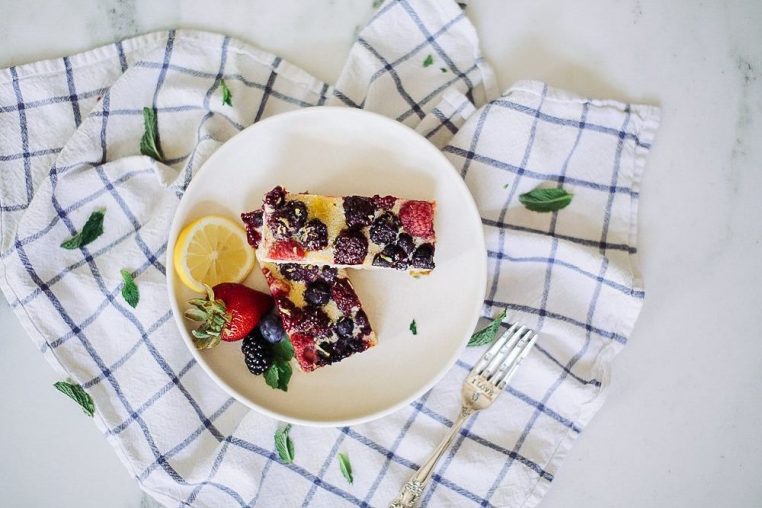
I’ve merged a classic lemon bar with a lemon curd pie and sprinkled some berries in the mix for these Simple Lemon Berry Bars. They’re not only delicious and healthy but also beautiful to make and share with friends this season.
Simple Lemon Berry Bars
Lemon curd pie is famous for it’s luxurious, velvety, and creamy filling and lemon bars or lemon squares have the same filling-vibe, but they’re a bit more starchy in order to hold up to being cut into bars and re most often served with a dense crust. My mission was to fuse these two delicious desserts, make them simple, and amp up the nutrition a bit. These bars are:
- Made with ingredients you have at home
- Delicious
- Party friendly
- Dense and filling, yet light
- NS #beautyfood approved
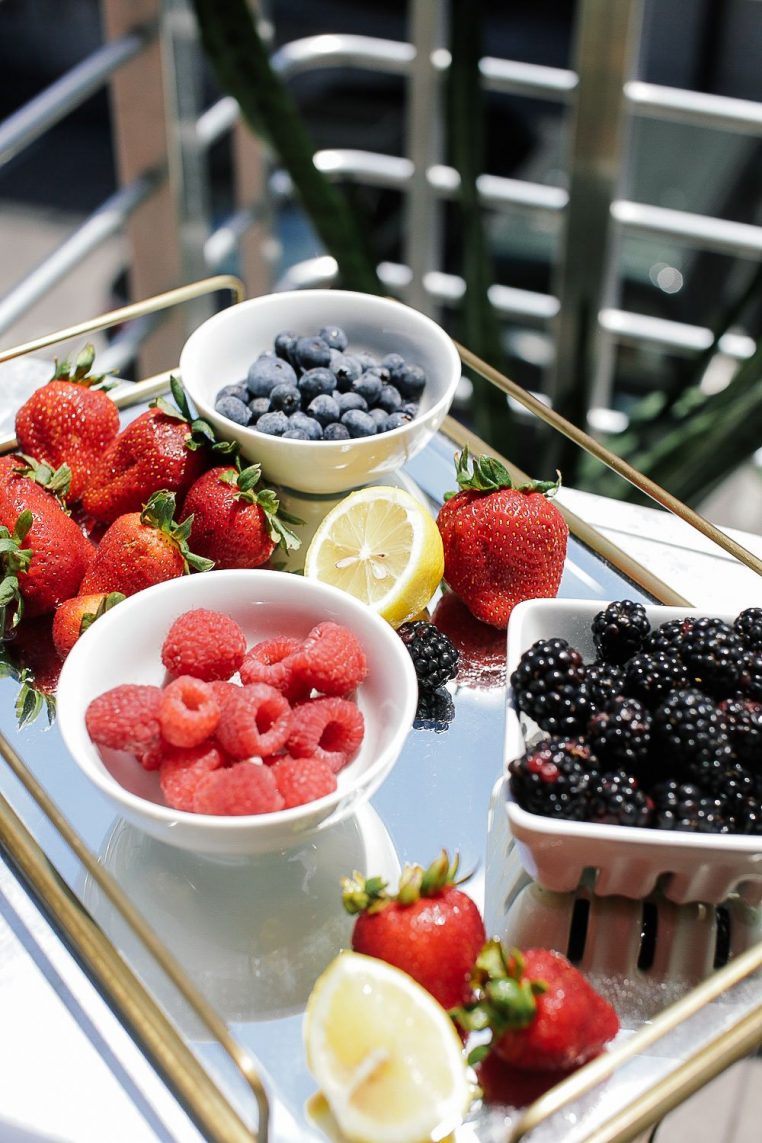
These Simple Lemon Berry Bars are made with obvious two ingredients, lemons and berries. But in addition, I wanted to keep the integrity of classic lemon bars, so these are made with farm fresh eggs I picked up at my boyfriend’s family’s farm. As a disclaimer, I tried this recipe vegan and the only way to get a somewhat good texture was to use a ton of cashews and gluten free starches/powders, etc. It got too complicated and strayed too far away from the original inspiration of lemon curd pie and lemon bars! So for my vegan pals, this recipe has eggs FYI.

(nutrition) stripped and how these will make you glow from the inside as a #beautyfood:
- Loaded with healthy fats from the coconut oil to the egg yolks
- Good source of fiber, especially from the whole food crust
- Lemons contain vitamin C + lemon zest as a garnish provides a boost of this vitamin
- Low in sugar
- Good source of protein (hello eggs!)
- Mixed berries contain heaps of vitamin C, phytonutrients, fiber, and an array of antioxidants that promote healthy skin and fight free radicals and inflammation – the full package
- OPTIMIZER option: use 1 teaspoon of baobab, a superfood powder made from the baobab fruit which is high in vitamin C, antioxidants, calcium, magnesium, iron, and a delicious tangy flavor that goes beautifully it the recipe! Get it here.
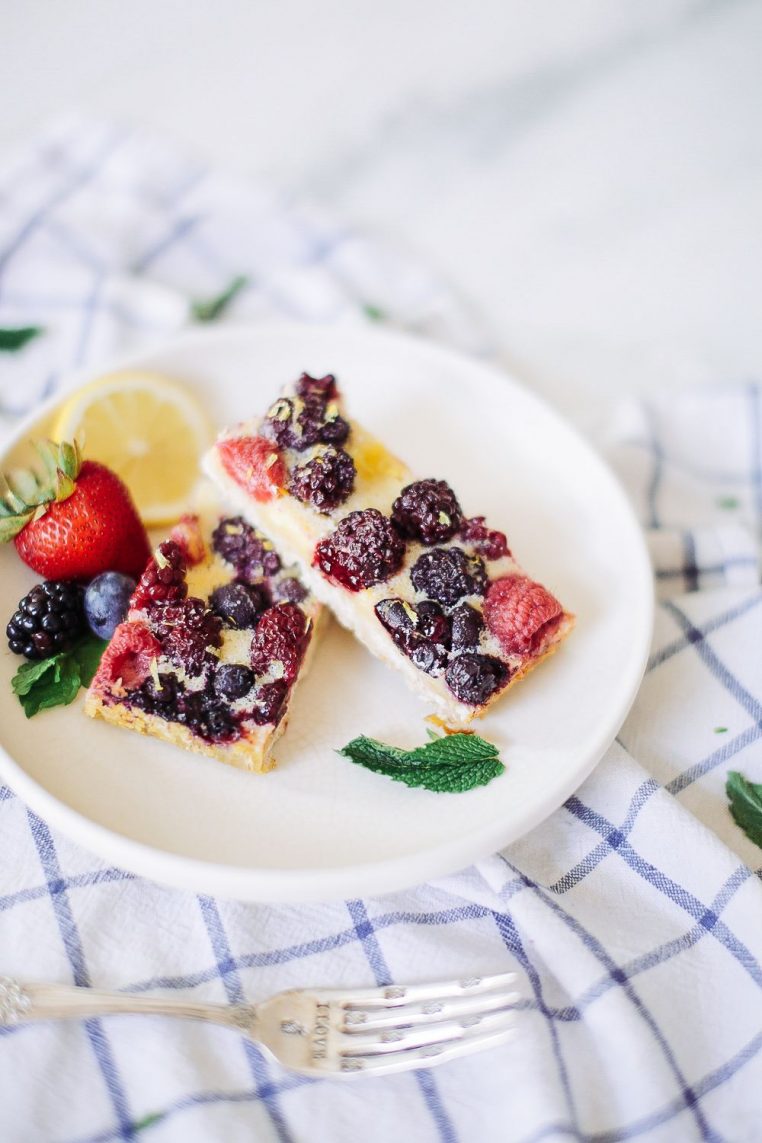
I love making this to have around the house for a sweet snack mid-day or especially in the evening. Since these are loaded with healthy fats which keep us fuller longer, it’s best to nibble on these when you have a sweet tooth craving that needs to be crushed, when you want to keep hunger at bay, or when you just want to enjoy them! I brought these poolside with some gal pals last week and they loved them! Ideally serve chilled, but they’re delicious at room temperature as well. It just depends on where you’re sharing them.
If you try this recipe, I wanna hear about it, so let’s chat! Leave a comment, rate it (this helps me improve future recipes), and don’t forget to tag a picture #nutritionstripped to show how you live and try these recipes on Instagram! I’d love to see what you come up with. Now off to make a batch of these…
xx McKel
- [b]For the filling: [/b]
- 2 tablespoons lemon zest
- ¼ cup fresh squeezed lemon juice
- 6 tablespoons melted coconut oil
- 4 eggs
- 2 tablespoons maple syrup (or use 1/2 teaspoon liquid stevia for low sugar)
- 2 tablespoons brown rice flour
- 1/4 teaspoon sea salt
- 1 ¾ cups total mixed raspberries, blueberries, and strawberries
- [b]For the crust: [/b]
- 1 cup brown rice flour (or whole grain flour of your choice)
- 1/2 cup Cup4Cup GF pie crust
- 1/2 cup unsweetened shredded coconut
- 1/4 teaspoon sea salt
- 1/2 cup melted coconut oil
- 1/2 teaspoon vanilla extract
- 1 teaspoon lemon zest
- 1 tablespoon maple syrup
- Preheat oven to 350F.
- [b]For the crust: [/b]
- Combine all ingredients for the crust into a large mixing bowl and combine well with a spoon. You should be able to squeeze the mixture between two fingers and form a dough, if it’s too dry add more melted coconut oil, if it’s too wet then add 1 teaspoon of oat flour at a time. Transfer this mixture into a rectangle or square baking dish lined with parchment paper or well-greased with coconut oil, or use a silicon baking tray.
- Bake the crust for 20 minutes or until edges are golden brown. Remove from oven and let cool at room temperature.
- [b]For the filling: [/b]
- Reduce oven temp to 315F for next steps.
- While the crust is cooling, make the filling by adding all filling ingredients (except the berries!) to a blender and blend for 30 seconds or until combined well.
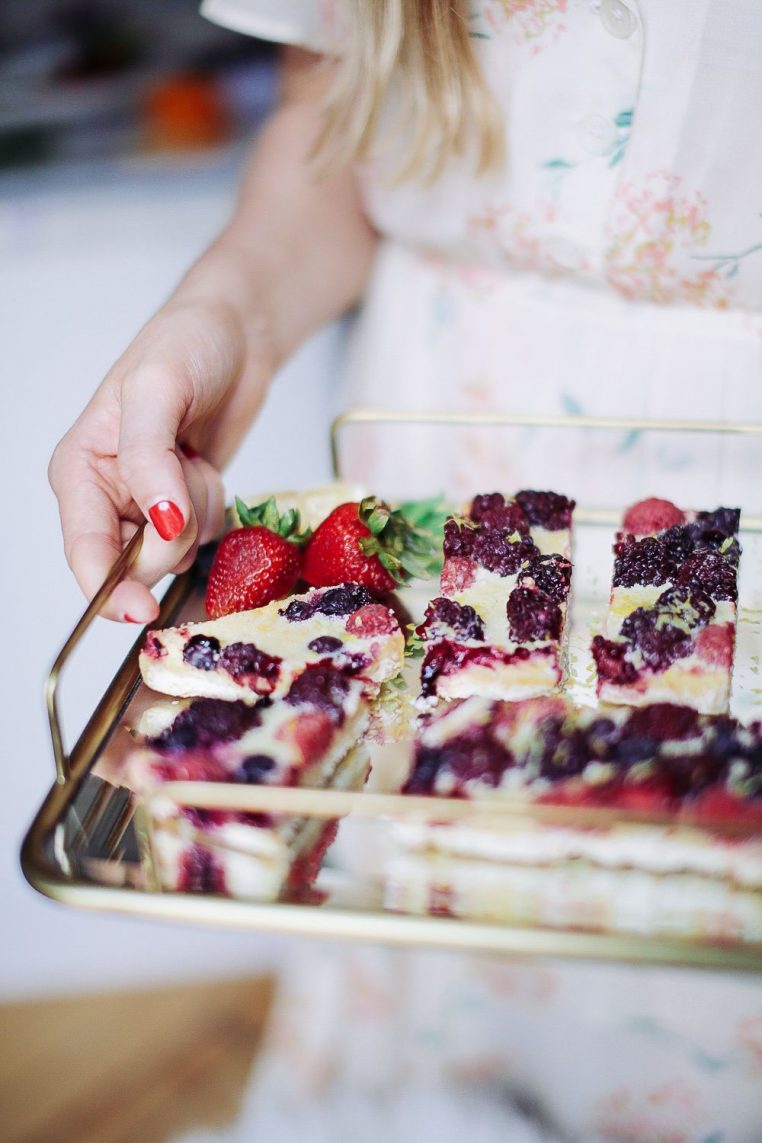
- Pour this mixture on top of the cooled crust. Evenly sprinkle the mixed berries of your choice in the filling, some will surface when baking and some will sink to the crust. Bake for 60 minutes, checking the texture at 45 minutes. The final filling texture should be firm and bouncy. Test by using a knife/tester, it should come out clean.
- Remove from oven and cool for 30 minutes before placing in the refridgerator to chill for at least 2 hours before serving or overnight.
Things I used to make this with ease: silicon baking dish, liquid stevia, coconut oil, Cup4cup gluten free pie flour (my favorite brand), and vanilla extract.

